

Key Takeaways
Squeaky Floor
A squeaky floor is a floor that produces a creaking or squealing noise when walked on. The sound occurs when flooring components rub against each other or against fasteners due to movement. This movement is almost always caused by gaps that develop as wood expands, contracts, or as fasteners loosen over time. In the vast majority of cases, squeaks are a comfort issue - not a structural one.
The noise itself is friction-generated - wood fibers or metal fasteners vibrating as surfaces slide against one another under load. Subfloor-to-joist gaps are a particularly common source in platform-framed construction.
Why Floors Squeak: The Real Mechanics
Squeaks happen when two surfaces rub together under pressure. In a typical wood-framed floor, that friction occurs in one of three places: between individual flooring boards, between the finished floor and the subfloor beneath it, or between the subfloor and the floor joists. Each location has its own feel and its own fix.
The most common culprit is the subfloor-to-joist connection. As a house settles and wood dries out, nails that once held the subfloor tight to the joists can work loose. When weight is applied, the subfloor flexes slightly, the nail moves in its hole, and friction creates that familiar creak. Glue failure between layers can produce the same effect.
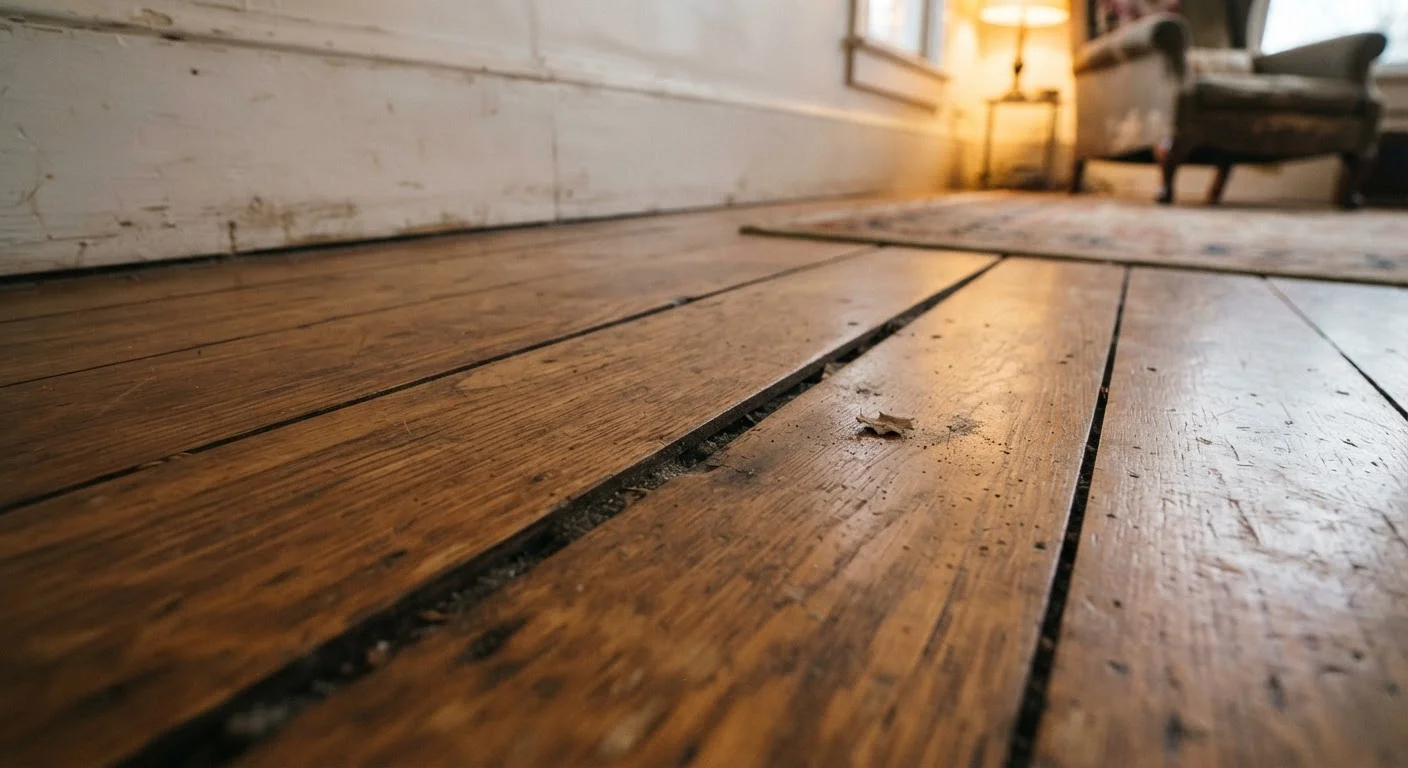
Between flooring boards, the cause is usually seasonal wood movement. Hardwood and engineered wood absorb and release moisture with changing humidity. As boards shrink in dry months, gaps open slightly. When those boards rub edge-to-edge underfoot, they squeak.
Squeaks Can Be Seasonal - Wait and Watch
If a squeak appears in winter and disappears by spring, it's almost certainly caused by low indoor humidity causing wood to shrink. Before investing time in a repair, monitor the squeak across seasons. If it resolves on its own, maintaining steadier indoor humidity may be the only long-term fix you need.
Understanding which layer is squeaking determines everything about your repair approach. A squeak that sounds hollow and deep often points to subfloor movement. A sharper, higher-pitched creak is more likely the finished floor boards themselves.
Fixes When You Have Access from Below
If you have a basement, crawl space, or unfinished area directly below the squeaky floor, your repair options are significantly easier and less invasive. The goal is to close the gap between the subfloor and the joist so the two surfaces can't move independently.
A reliable low-cost approach is to drive a short wood screw up through the joist and into the subfloor - but not through the finished floor above. This pulls the subfloor snug against the joist without any visible damage upstairs. Measure the combined thickness of your subfloor carefully before selecting screw length; breaking through the finished surface above defeats the purpose entirely.
For a gap that's too wide for a screw alone, a thin wood shim coated in carpenter's glue can be tapped gently into the space between the joist and subfloor. Let the glue cure fully before walking on the area. Avoid hammering the shim too far - it can actually worsen the gap by lifting the subfloor away from the joist on the other side.
Pinpoint the Squeak Before You Fix It
Before reaching for any tool, have a helper walk the floor slowly while you map the exact location of the squeak with painter's tape. A fix applied even a few inches from the real problem point may accomplish nothing. Spend two minutes locating it precisely - you'll save significant time and material.
Fixes From Above When Access Is Limited
No basement? No crawl space? You're not out of options, but you'll need to be more careful about what you do to the finished surface.
For squeaks between boards, powdered graphite or talcum powder worked into the seam can reduce friction immediately. This is a temporary measure but requires no tools and causes no damage. It works best on hardwood or solid-wood plank floors where the gap is visible.
A more permanent above-floor fix involves driving a trim-head screw - a screw with a very small head - through the finished floor into the subfloor below. The small hole left behind can be filled with a color-matched wood filler. This works well in areas covered by rugs or in less visible parts of a room. Specialty squeak-reduction kits sold at hardware stores use a scored screw designed to snap off just below the surface, leaving a nearly invisible repair.
For carpet-covered floors, some kits allow you to drive a screw through the carpet and pad without damaging the fibers, then snap off the head below the carpet surface. The carpet naturally recovers over the entry point.
What doesn't work reliably from above: trying to re-nail a loose board by hand. Standard hammer nails rarely drive straight enough through finished flooring and often split boards or create new movement points.
When to Stop DIY and Call a Professional
Most squeaks respond to the fixes described above. But there are situations where a DIY approach isn't sufficient - and pushing forward can mask a problem that genuinely needs professional attention.
If your floor feels spongy, bounces noticeably, or shows visible dip, the issue may extend beyond fastener failure. Water damage to joists or subfloor panels, rot, or insect damage can all produce floors that squeak and move excessively. These aren't cosmetic issues.
Squeaks concentrated along a single line that corresponds to a load-bearing wall below are also worth a professional evaluation. While the squeak itself is usually just wood movement, it's worth confirming that the framing beneath is sound.
Permits and licensed contractors are typically required for any structural repairs to floor joists or load-bearing elements. Always verify local code requirements before beginning work that goes beyond surface-level fixes. A licensed contractor or structural engineer can assess whether what you're hearing is routine settlement or something that warrants more attention.