

Key Takeaways
Summary
22 items · 15-30 minutes
Why Preparation Is the Real First Step
Most DIY mistakes happen before a single tool is picked up. Skipping the setup phase - rushing straight to the task - is how homeowners end up with the water still on when they cut a pipe, or with a half-dismantled fixture and no replacement part in hand. A structured pre-project check takes 15 to 30 minutes and consistently prevents the most expensive and dangerous errors.
This checklist is designed for common household repairs: plumbing fixtures, drywall patches, flooring, trim work, minor electrical like outlet replacement, and similar tasks. It is not a clearance to tackle work involving your home's main electrical panel, gas lines, load-bearing walls, or roofing - those categories carry legal permit requirements and safety risks that require licensed professionals. If you're unsure where your project falls, read through what makes a job genuinely DIY-friendly before proceeding.
Work through each group below before you start. Check every item - don't skip sections because a task seems simple.
Scope and Permit Check
Utility Shutoffs
Personal Safety
Tools and Materials
Skill and Time Honest Assessment
Tools, Materials, and When to Call It
One of the clearest signals that a job is within reach is whether you can gather every required tool and material before starting. Improvised tools - using a butter knife as a screwdriver, a ladder that's too short - cause injuries. If you don't own a tool the job genuinely requires, factor in rental or purchase cost before assuming the project saves money. A well-stocked home toolkit covers the vast majority of common repairs without special equipment.
Non-contact voltage tester
Verify that a circuit is de-energized before touching any wiring during electrical repairs.
Adjustable shutoff wrench
Close water supply valves that may be stiff or irregularly sized near fixtures.
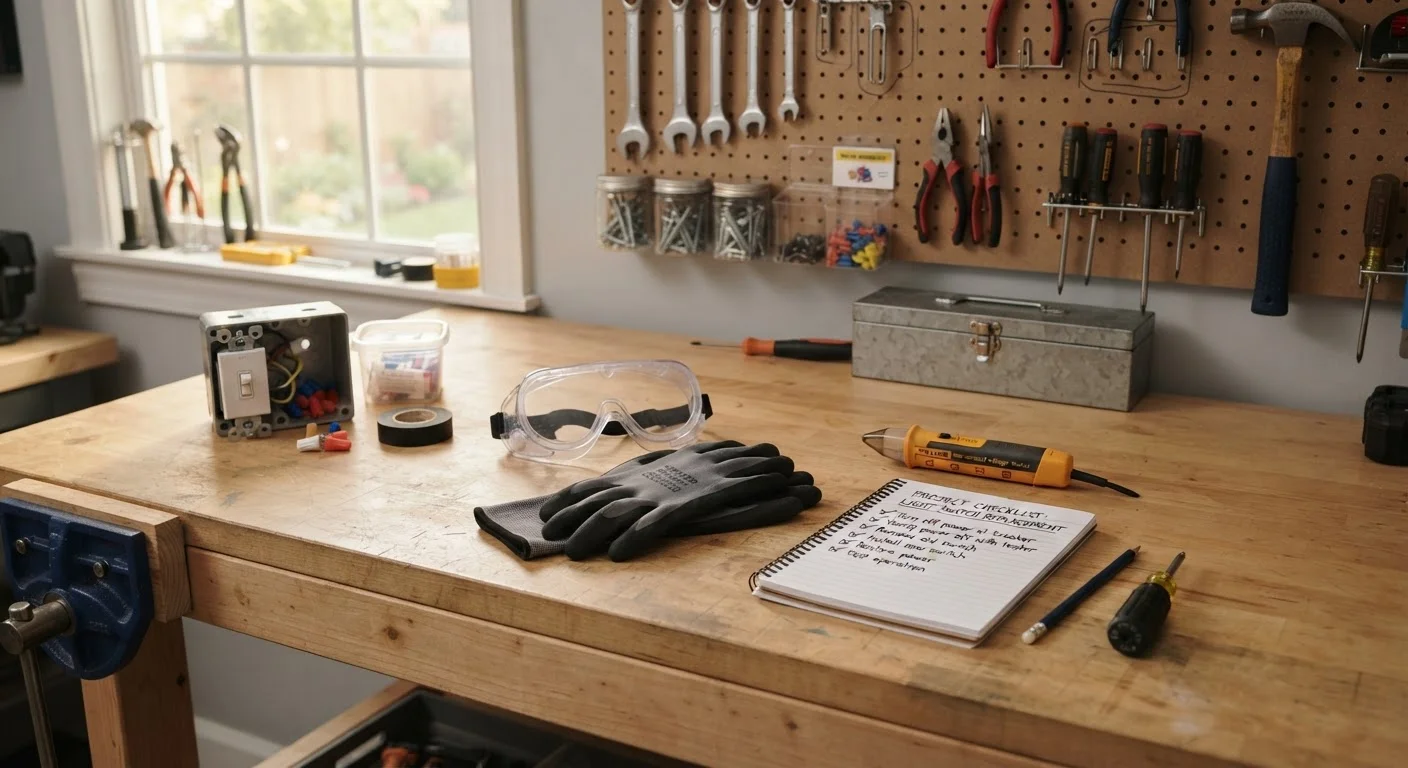
Safety glasses and work gloves
Protect eyes from debris and hands from cuts, splinters, or chemical contact during any repair task.
Portable work light
Illuminate work areas inside cabinets, walls, or crawl spaces where overhead lighting is inadequate.
Tape measure and level
Confirm dimensions and alignment before cutting, fastening, or installing any component.
Drop cloth or plastic sheeting
Protect flooring and surfaces from dust, paint, water, or debris during the repair.
Label tape or masking tape
Mark shutoff valves and breakers clearly so household members don't accidentally restore power or water mid-repair.
Knowing when to stop is just as important as knowing how to start. If mid-project you discover concealed wiring where it shouldn't be, signs of mold behind a wall, or structural damage beyond the surface, stop work and consult a licensed professional. Some repairs genuinely pay off as DIY; others don't - and recognizing that line before you're committed protects both your home and your budget.
Stop Work If You Find These Conditions
If you open a wall or ceiling and find black or green discoloration consistent with mold, materials that crumble with a chalky texture (possible asbestos in pre-1980 homes), or wiring that is scorched, frayed, or improperly spliced - stop immediately and do not proceed. These conditions require professional assessment before any repair continues. Disturbing asbestos-containing materials without proper containment is a federal regulatory matter, not just a health risk.
This checklist provides general educational information for homeowners. It is not a substitute for professional assessment. Always verify local permit requirements, building codes, and utility shutoff procedures with qualified tradespeople or your local authority having jurisdiction (AHJ) before beginning any repair project.