

Key Takeaways
Choosing the Right Method for Your Hole Size
Drywall repair is one of those home skills that pays for itself the first time you use it. A professional patch for a fist-sized hole can run $150-$300 in labor alone - the materials cost a fraction of that. Before picking up a tool, identify which category your damage falls into, because the method changes completely.
- Small holes (under ¼ inch): Nail holes, screw pops, and minor dings. Spackling compound applied with a putty knife is sufficient - no mesh, no backing, no second coat of compound in most cases.
- Medium holes (¼ inch to roughly 6 inches): Doorknob strikes, anchors pulled out of the wall, and accidental punctures. These need either a self-adhesive mesh patch kit or a plywood backer strip to bridge the gap before compound is applied.
- Large holes (over 6 inches): Impact damage, outlet moves, and plumbing access cuts. The cleanest fix is cutting the damaged section back to the nearest studs, screwing in a new piece of drywall, and taping the seams as you would new construction.
If you're new to DIY repairs in general, the practical introduction for first-time homeowners covers the baseline tools and mindset before you start.
What you will need
Step-by-Step Repair Instructions
Work through the steps below that correspond to your hole size. Steps 1-3 apply to all repairs; steps 4 and 5 branch based on size.
Prepare the damaged area
Remove any loose paper facing, crumbling edges, or protruding fasteners around the hole. For nail pops, drive a new screw 2 inches above and below the pop, then hammer the nail flat. Use a utility knife to trim ragged edges on larger holes to a clean border - a square or rectangle shape is easier to patch than an irregular tear.
Apply the appropriate backing or patch
Small holes: Skip this step - proceed directly to applying spackling.
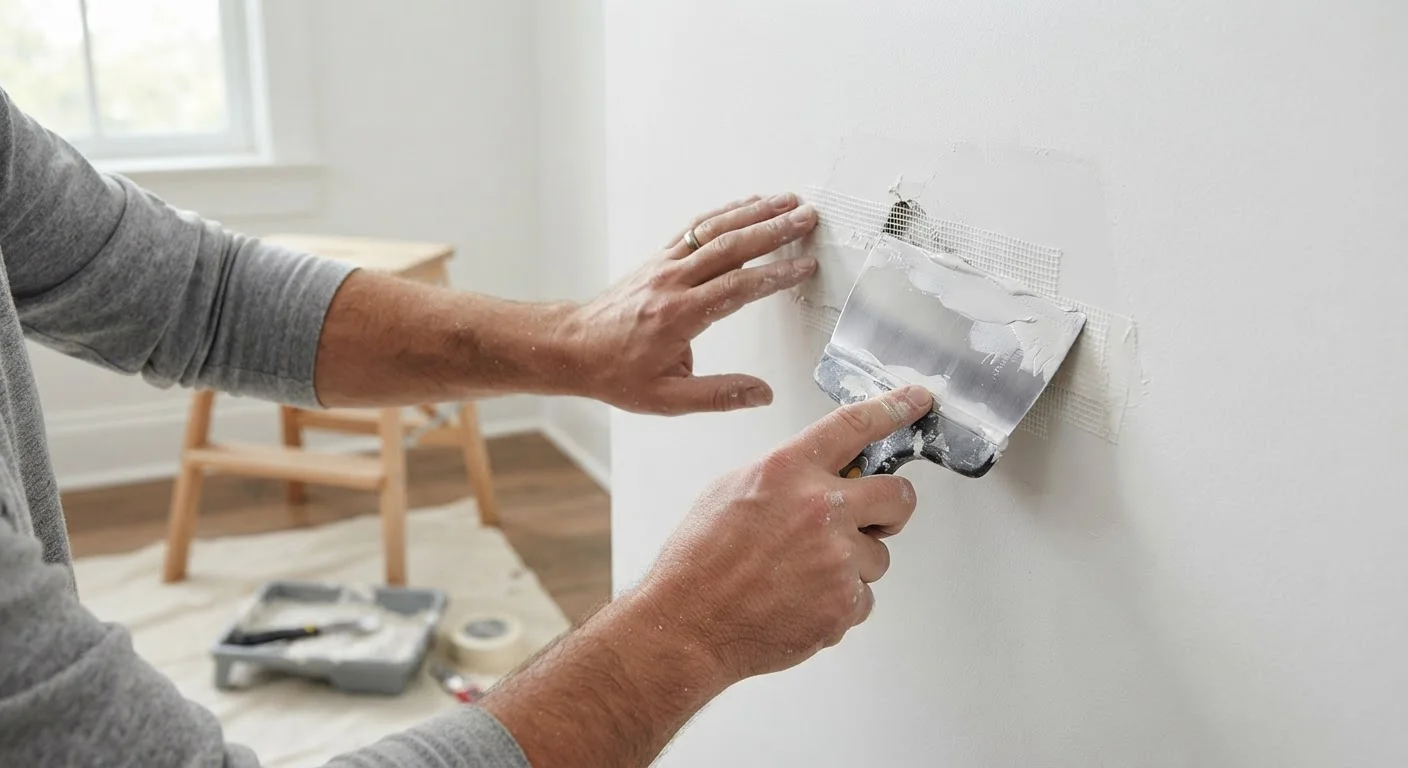
Medium holes: Center a self-adhesive mesh patch over the hole, pressing it firmly to the surrounding wall surface. Mesh patches are available at most hardware stores and provide the foundation that keeps compound from sinking into the void.
Large holes: Cut the hole back to the center of the nearest studs on each side using a drywall saw. If no stud is within reach, cut horizontal channels above and below the hole and screw 1×4 backer strips into the existing drywall, leaving half the strip exposed inside the opening. Cut a replacement piece of ½-inch drywall to fit and screw it to the studs or backers every 8 inches.
Apply joint compound in thin coats
Load a putty knife with a modest amount of compound. For small holes, one thin coat of spackling, feathered flush with the wall surface, is usually enough. For medium and large holes, apply the first coat of all-purpose joint compound over the mesh or drywall seams, pressing firmly to embed the tape if using paper tape. Feather the edges outward 3-4 inches. Allow to dry completely - typically 4-6 hours at room temperature, or overnight for thicker applications.
Apply a second coat, wider than the first, to blend transitions. Most patches need two to three coats total. Each coat shrinks as water evaporates, which is normal.
Sand smooth between coats and after the final coat
Once each coat is fully dry (no cool or damp spots when you press lightly), sand lightly with 120-grit paper to knock down ridges. After the final coat, sand progressively with 150-grit, then 220-grit, until the patch surface feels flush with the surrounding wall. Wipe away dust with a barely damp cloth and allow to dry before priming.
Prime and paint the repaired area
Apply one coat of PVA drywall primer over the sanded patch, extending 2-3 inches onto the surrounding wall. Let it dry per the manufacturer's guidance. Once dry, apply your finish paint with a roller or brush, feathering edges to minimize sheen differences. A second finish coat is often needed for full color match, especially on older or repainted walls.
Timing Is Everything With Joint Compound
Joint compound that feels dry on the surface can still be wet underneath, especially in humid conditions or when applied thickly. Touch the center of the patch - if it feels even slightly cool, give it more time. Sanding wet compound tears the surface and creates more work, not less.
Finishing: Texture, Paint, and Common Mistakes
A structurally sound patch that looks like a patch defeats the purpose. The two finishing steps most DIYers rush or skip entirely are texture matching and primer.
Texture matching: Hold a flashlight at a low angle to the wall to see the existing texture clearly. Smooth walls need nothing beyond careful sanding. Light orange peel or knockdown texture can be replicated with a small can of spray texture, applied in short bursts and adjusted with a plastic knife before it sets. Practice on cardboard first.
Primer before paint: Joint compound is highly porous and will absorb your finish paint unevenly - called flashing - if you skip primer. A single coat of drywall primer (PVA primer) over the patch area eliminates this. Once dry, apply your finish paint and feather it 6-8 inches past the patch edges to blend sheen differences.
Common mistakes to avoid:
- Applying compound too thick in a single coat - it cracks as it dries
- Sanding before compound is fully dry - it pills and tears
- Skipping the primer coat - causes visible dull spots under paint
- Neglecting to check for wiring or plumbing before cutting - always probe with a stud finder and be aware of what's behind the wall
Small repairs left unfinished have a way of compounding - a patch that isn't primed or painted can absorb moisture and soften over time. Finish the job completely.