

Key Takeaways
Why Air Leaks Cost More Than You Might Expect
Heating and cooling account for the largest share of a typical US household's energy use. When conditioned air escapes through gaps - or cold air infiltrates in winter - your heating system compensates by running longer. The result is higher bills without any improvement in comfort. Air sealing addresses the problem at its source, unlike simply turning up the thermostat.
The most common leak locations are predictable: door frames and thresholds, window trim joints, loft (attic) hatches, baseboards along exterior walls, and wherever pipes or cables pass through exterior framing. Individually, each gap may seem trivial. Collectively, studies by the US Department of Energy suggest that air infiltration can account for a significant portion of a home's total heating and cooling load - though the exact figure varies widely by home age, construction type, and climate.
The good news is that most of these leaks are accessible to any homeowner with basic tools and an afternoon. The materials involved - weatherstripping, caulk, foam tape - are inexpensive. See our overview of DIY home repairs for related low-cost fixes you can tackle yourself.
Run a Whole-Home Audit First
Before buying any materials, do a systematic walk-through on a cold, windy day with all windows and exterior doors closed. Use a stick of incense or a damp hand near suspected gaps - moving smoke or a cold sensation confirms a leak. This prevents you from buying sealant for the wrong spots. For a structured checklist approach, see our room-by-room energy audit guide.
Room-by-Room: Where to Focus Your Attention
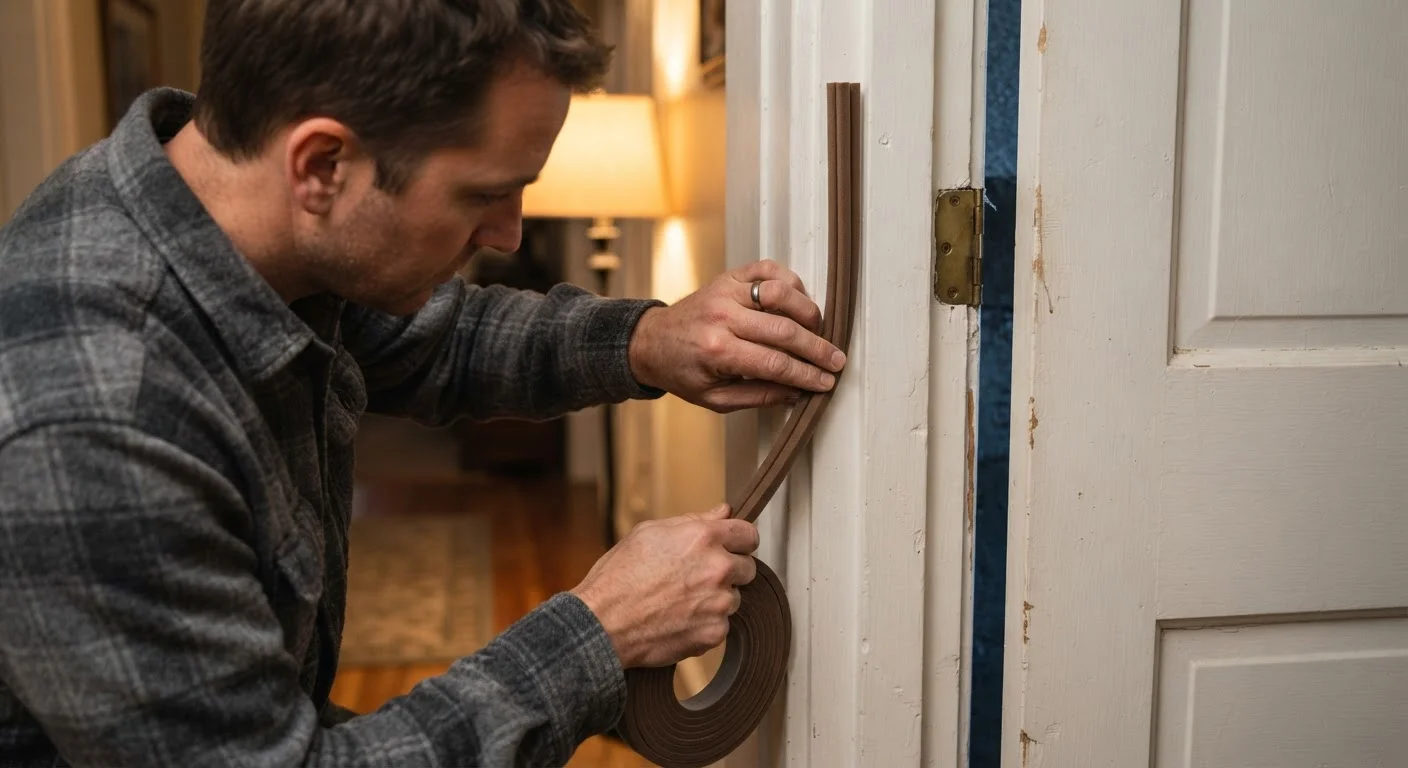
Entry doors and exterior-facing doors are the highest-priority targets. The gap between the door panel and its stop, and the threshold gap at the bottom, can together allow a substantial draught. Door sweeps and compression weatherstripping address both.
Windows lose heat in two ways: through the glass itself (a glazing problem) and through gaps in the frame and trim (an air-sealing problem). This guide addresses only the latter - caulking the joint between the window frame and the surrounding trim is something any homeowner can do safely. For a deeper look specifically at windows and doors, see our article on diagnosing and sealing drafty windows and doors.
The loft hatch is frequently overlooked. It sits above the warmest air in your home, and if it is not sealed and insulated, heat rises straight through it. This is one of the highest-return fixes in the entire home.
Baseboards and interior trim along exterior walls can hide gaps where the wall framing meets the subfloor - a common pathway for cold air to enter from a crawl space or unheated basement below.
Do Not Seal Combustion Air Vents
Some ventilation openings exist specifically to supply air to gas furnaces, water heaters, and fireplaces. Sealing these can create dangerous carbon monoxide buildup. If you are unsure whether an opening serves a combustion appliance, consult a licensed HVAC technician before sealing it.
Once you have sealed the obvious gaps, consider whether there are complementary steps - such as heavy curtains, rugs over cold floors, or adjusted ventilation habits - that help retain the heat you have worked to keep in. Our guide to keeping rooms warm without turning up the boiler covers these approaches in detail.
What you will need
Incense sticks or a candle
Used to detect airflow - smoke movement or flame flicker indicates a leak.
Weatherstripping (foam, V-strip, or door sweep)
Seals gaps around the perimeter of doors and operable windows.
Acrylic latex caulk
Fills stationary gaps around window frames, baseboards, and trim where surfaces do not move.
Expanding foam sealant
Fills larger irregular gaps, such as around pipes or cables penetrating exterior walls.
Utility knife and putty knife
Removes old, cracked caulk or worn weatherstripping before applying new material.
Caulk gun
Provides controlled application of tube caulk for clean, even beads.
Loft hatch draught excluder kit
Seals the gap around the loft (attic) access hatch frame, a commonly overlooked leak point.
Identify all air leak locations before buying materials
On a cold day, close all exterior doors and windows, turn off exhaust fans, and walk each room slowly. Hold a lit incense stick or damp hand near these high-priority locations:
- Door frames (top, sides, and threshold)
- Window frames and sash joints
- The loft hatch perimeter
- Baseboards along exterior walls
- Where pipes, cables, or ducts pass through walls
- Electrical outlets and switch plates on exterior walls
Mark each leak with a piece of painter's tape so you do not forget any when you return with materials.
Seal door gaps with weatherstripping and a door sweep
Remove old, compressed weatherstripping by peeling or unscrewing it from the door stop. Clean the surface with a damp cloth and allow it to dry. Cut new foam or V-strip weatherstripping to length and press or tack it into the door stop so it compresses slightly when the door closes. For the threshold gap, fit a door sweep to the bottom of the door panel - most sweep types screw directly into the door face and require only a screwdriver. The sweep should brush the floor lightly without dragging hard enough to make the door difficult to close.
Recaulk window frames and trim joints
Use a utility knife or putty knife to cut away any old caulk that is cracked, shrinking, or pulling away from the surface. Wipe the joint clean. Load a tube of acrylic latex caulk into a caulk gun and cut the tip at a 45-degree angle to match the gap width. Apply a steady bead by pulling the gun toward you at a consistent pace. Smooth immediately with a wet fingertip or plastic tool. Allow to cure per the manufacturer's instructions before painting if needed. Focus on the joint between the window frame and the interior wall trim - this gap is often larger than it appears and is a significant source of cold-air infiltration.
Seal the loft hatch
The loft (attic) hatch sits directly above warm living space and is rarely insulated or sealed adequately. Press self-adhesive foam tape around the entire perimeter of the hatch frame so the hatch lid compresses the tape when closed. If the gap is large or irregular, use a thin draught-excluder bead instead. While you are up there, check that the hatch panel itself has rigid foam board or batt insulation fixed to its upper face - the seal around the frame and insulation on the panel together make the biggest difference. For a broader discussion of loft-related heat loss, see our loft vs. cavity wall insulation comparison.
Plug penetrations around pipes, cables, and outlets
Anywhere a pipe, wire, or duct passes through an exterior wall is a potential air pathway. For small gaps (under ½ inch), use caulk. For larger or irregular gaps, use minimal-expanding foam sealant - overfill slightly, allow it to cure fully, then trim flush with a utility knife. For electrical outlets and switch plates on exterior walls, cut pre-made foam gaskets (sold at hardware stores) to fit behind the cover plate; this requires only a screwdriver and takes under a minute per outlet. Do not disturb wiring connections - simply lay the gasket over them before replacing the cover.
Verify your work and monitor results
Once all identified leaks are sealed, repeat the incense or hand test at each location to confirm airflow is gone. Pay attention to your heating system's run time over the next few cold weeks - a noticeable reduction is a practical indicator that the sealing work is doing its job. For additional low-effort measures that complement draught-sealing, see our guide to low-cost changes that reduce heating bills.
Avoid Over-Sealing in Tight Homes
Modern building codes require controlled ventilation to maintain indoor air quality. If your home is already well-insulated and relatively airtight, sealing additional gaps without adding mechanical ventilation (such as a heat-recovery ventilator) can trap pollutants and moisture indoors. If you are unsure about your home's existing ventilation, get a professional assessment before proceeding.