

Key Takeaways
Assessing the Damage Before You Touch a Tool
The single most common fence repair mistake is jumping straight to replacement when a targeted fix would do the job. Before you spend money on lumber or hire anyone, spend 20 minutes walking the fence line and diagnosing what you actually have. See our guide to reading a repair job for a broader framework on this kind of pre-work.
Push each post firmly at mid-height. A solid post won't flex; a rotten or undermined one will move noticeably. If movement comes from the base, the post is likely rotted below grade - common in wood posts that were set without concrete or in soil that retains moisture. If the post itself is sound but the concrete footing has cracked or heaved, that's a different fix.
For panels, check for:
- Split or broken rails (the horizontal members) - often the first point of failure
- Rotten pickets - isolated rot that hasn't spread to the rails yet
- Panel separation from a post - usually a fastener failure, not structural damage
Document which posts are failing and which panels need attention. This lets you buy materials once and avoid repeat trips.
What you will need
Repairing a Leaning or Rotted Post
If the post is structurally compromised below grade but the above-ground section is still sound, a concrete repair spur (also called a post saver or gravel board post) is often the most cost-effective approach. This method anchors a metal or concrete spur into the ground alongside the damaged section, then bolts the existing post to it - effectively transferring the load to fresh, solid footing.
Alternatively, a sister post involves setting a new treated-lumber post directly adjacent to the failing one, concreting it in, and transferring the fence panels to the new post. This works well when the existing post has rotted through and can't bear load at all.
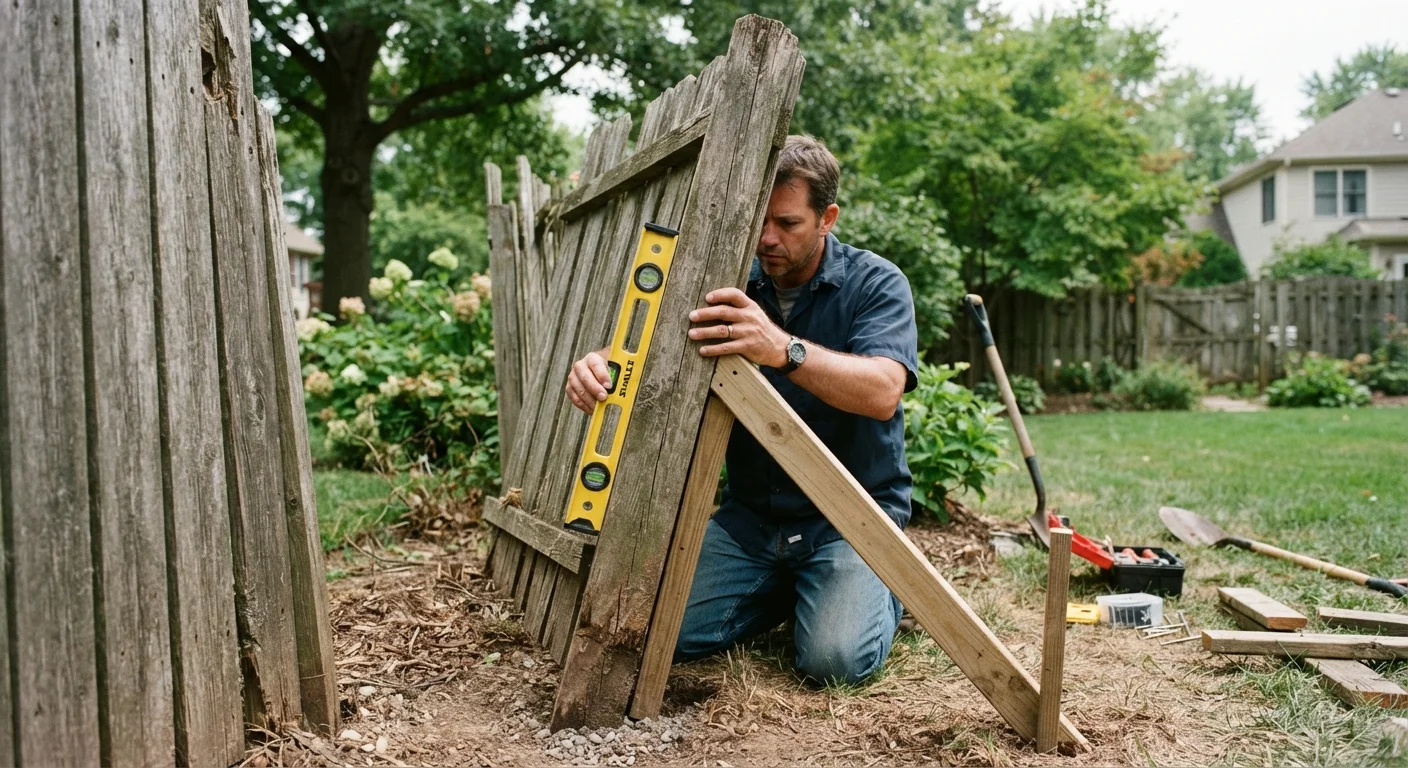
For posts that are leaning due to soil movement but aren't rotted, re-plumbing and re-setting in fresh concrete is often sufficient. Excavate around the base, re-align using a spirit level, then pack with fresh concrete mix. Prop the post in position while the concrete cures - typically 24-48 hours depending on product and temperature.
Always Locate Buried Utilities Before Digging
Post repairs often require digging 2-3 feet into the ground. Buried gas lines, electrical conduit, and water pipes can be shallower than expected. In the US, call 811 at least a few business days before any excavation to have lines marked at no cost. Work around marked lines with hand tools only.
Always check with your local utility notification service before any digging. In the US, call 811 at least a few business days before you dig to have underground lines marked. This is not optional - striking a buried line can be fatal.
Replacing Individual Panels and Rails
Fence panels are modular by design, which means individual sections can be swapped without disturbing the rest of the structure. If you have a standard panel fence (pre-assembled sections that slot between or attach to posts), removing and replacing one panel is straightforward once the posts on either side are confirmed sound.
For board-on-board or traditional picket construction, you're more likely replacing individual rails or pickets:
- Remove damaged pickets by pulling nails or screws - a flat pry bar and patience beat brute force here.
- If a rail has split, cut it back to the nearest post on each side and replace with pressure-treated lumber of the same dimension.
- Pre-drill picket holes to prevent splitting when attaching new boards.
- Use galvanized or stainless screws rather than nails - they resist corrosion and allow future disassembly.
Match your lumber as closely as possible to the existing fence in dimensions and species. Pressure-treated wood is worth the modest price premium for ground-contact applications. If you're working on a painted fence, prime bare wood before painting to seal the grain.
Use the Right Checklist Before Starting
For a complete overview of what to check before any repair project, consult our pre-project safety checklist - it covers materials, safety, and scope confirmation in one place. Taking 15 minutes upfront prevents the most common repair mistakes.
For a complete overview of what to check before any repair project, consult our pre-project safety checklist - it covers materials, safety, and scope confirmation in one place.
If you're weighing whether fence repair is the right DIY candidate for your skill level, our breakdown of DIY repairs that genuinely save money gives an honest comparison.