

Key Takeaways
Why Fluid Levels Matter More Than Most Drivers Realise
Fluids are the bloodstream of your vehicle. Engine oil lubricates moving metal components; coolant prevents overheating; brake fluid transmits the force that stops your car. When any one of them falls low or degrades, the damage that follows is rarely cheap. According to AAA, mechanical breakdowns - many of which trace back to neglected fluid maintenance - cost US drivers billions in avoidable repairs annually.
The good news: catching these problems early takes almost no time or equipment. This walkthrough covers the six most important checks any driver can perform at home. For a broader look at how skipped checks accumulate into major costs, see why your car costs more to maintain than it should.
Cold Engine Only - No Exceptions
All fluid checks in this guide should be performed with the engine fully cold - ideally after the vehicle has sat overnight. Opening pressurised systems on a warm engine creates a genuine burn risk. If you've just driven, wait at least 30 minutes before beginning.
Before starting, gather your materials and ensure the vehicle is on flat ground with the engine cold.
What you will need
The Six Fluid Checks - Step by Step
Work through these in order, using the tools listed below. Most checks take under 90 seconds once you know where to look - the first time through will take slightly longer as you locate each reservoir.
Lint-free rag or paper towels
Wiping dipsticks clean before re-inserting for an accurate reading.
Flashlight or phone torch
Illuminating reservoir markings and fluid colour in a dim engine bay.
Owner's manual
Confirming reservoir locations, fluid specifications, and acceptable level ranges for your specific vehicle.
Check the engine oil
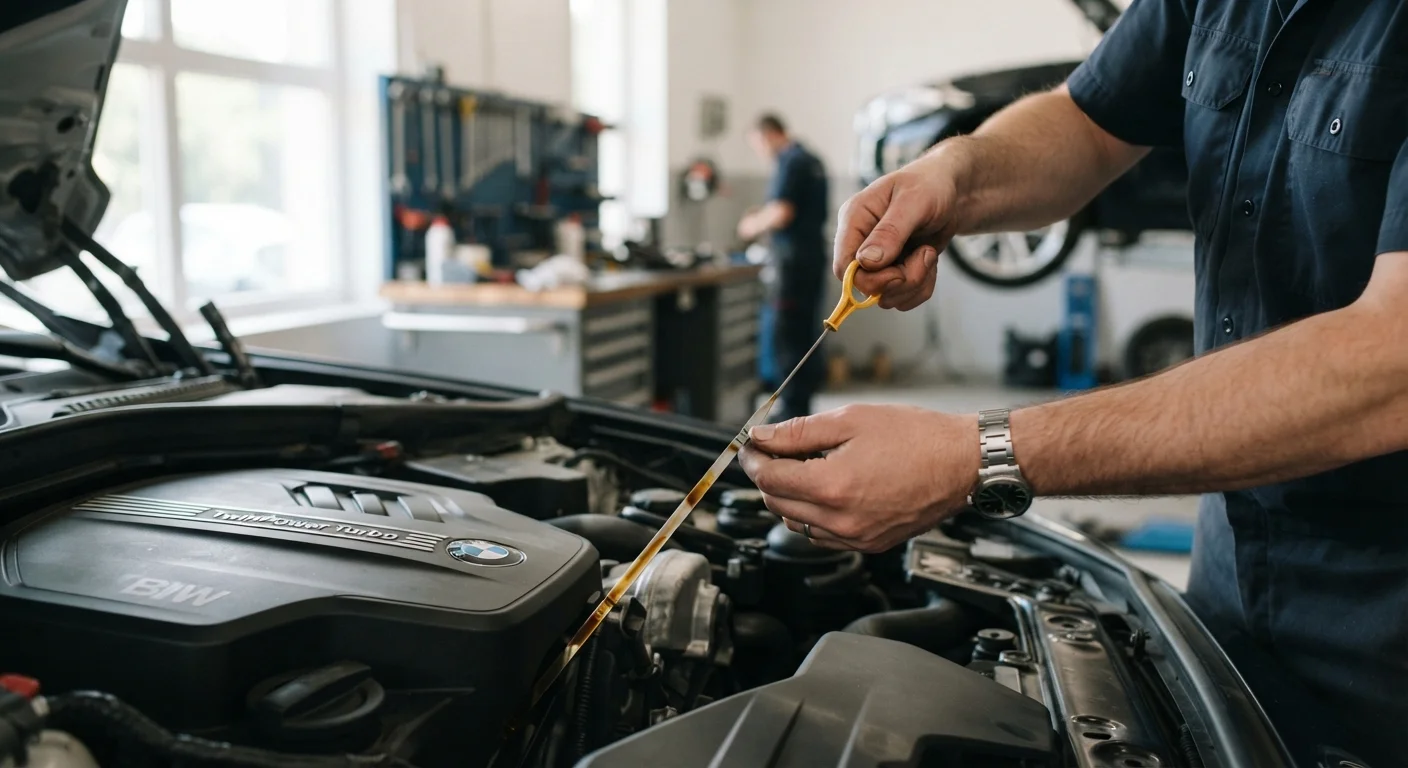
Locate the oil dipstick - typically marked with a yellow or orange ring. Pull it out, wipe it clean, reinsert it fully, then pull it out again. The oil film should sit between the two marked notches. Healthy oil ranges from amber to light brown; black, gritty, or milky oil signals it's overdue for a change or potentially contaminated with coolant.
Check the coolant (antifreeze)
Find the translucent coolant reservoir - usually near the radiator. Do not open it when the engine is hot; pressure inside can cause serious burns. When cold, verify the level sits between the MIN and MAX marks. Coolant should be bright green, orange, or pink depending on type. Colourless or rusty coolant warrants a closer look.
Check the brake fluid
The brake fluid reservoir is typically a small, translucent plastic container near the firewall on the driver's side. Without opening it, check the level against the MIN/MAX markings on the side. Brake fluid should be nearly clear to light yellow. A noticeably dark or brown fluid suggests moisture contamination and degraded stopping performance.
Check the power steering fluid
If your vehicle has hydraulic power steering (many newer vehicles use electric systems with no fluid), locate the power steering reservoir - often marked with a steering wheel icon. Some have a dipstick attached to the cap; others use min/max lines on the reservoir body. The fluid should be clear to light pink or red. Dark, burnt-smelling fluid indicates degradation.
Check the transmission fluid
Many automatic transmissions have a dipstick (often red-handled), though some sealed units are designed to be checked only by a workshop. If accessible, check it the same way as engine oil. Healthy transmission fluid is bright red and slightly sweet-smelling. Dark brown or burnt-smelling fluid is a warning sign. Manual gearboxes typically require a mechanic to inspect the fluid level.
Check the windshield washer fluid
The washer fluid reservoir is usually the easiest to find - look for a cap marked with a windshield spray icon. This is the only reservoir where you can top it up with aftermarket washer concentrate without any mechanical concern. Never substitute with plain water in cold climates, as it can freeze in the lines and crack the pump.
Build It Into Your Routine
Pairing fluid checks with your monthly tyre pressure check means nothing gets overlooked. A consistent, brief check schedule is one of the most cost-effective habits a driver can develop. As explored in our guide to hidden maintenance costs, reactive repairs consistently cost more than preventive ones.
If any fluid is consistently low between checks, or if you notice significant colour or smell changes, treat it as a prompt for a workshop visit rather than just a top-up. For guidance on which issues you can handle yourself and which genuinely require a professional, see our DIY vs. workshop breakdown.
Low Brake Fluid Needs Professional Attention
Unlike other fluids, brake fluid operates in a closed system - it should not drop significantly over time unless there is a leak or severely worn brake components. If you find the level consistently low, have a qualified mechanic inspect the brake system before driving further. Do not delay this check.
How Often Should You Run These Checks?
A monthly check is a reasonable baseline for most drivers. High-mileage vehicles, older models, or cars used for towing or stop-and-go city driving may benefit from checks every two to three weeks. If a warning light appears on your dashboard between scheduled checks, inspect the relevant fluid immediately rather than waiting for your next routine slot.
These checks fit naturally into a broader seasonal maintenance habit. Our seasonal car checks guide outlines what else to review as conditions change throughout the year. Drivers newer to vehicle ownership can also find a structured first-year maintenance framework in Car Maintenance From Scratch.
Fluid checks are a small investment of time that pays consistent dividends. Combined with other proactive habits detailed in keeping ownership costs in check over a vehicle's full life, they form one of the simplest and most reliable ways to protect your vehicle - and your budget - over the long term.