

Key Takeaways
Why Composting Makes Financial Sense for Home Gardeners
Bagged compost and granular fertiliser are a recurring garden expense that adds up quickly across a growing season. A standard 40-pound bag of compost covers only a modest area, and many gardeners go through several bags per year. A functioning home compost system converts waste you generate anyway into a functionally equivalent product - at no ongoing cost.
Beyond the savings on soil amendments, composting reduces the volume of household waste going into garbage bags, which may lower collection costs in areas that charge by weight or bag. If you're already working to grow a garden on a budget, free fertiliser is one of the highest-leverage inputs you can produce yourself.
Composting also improves long-term soil structure in ways that synthetic fertilisers do not. Gardens amended with mature compost over multiple seasons tend to retain moisture better, which reduces irrigation needs - another place where costs accumulate.
Compost bin or container
Holds organic material in one place, retains some heat and moisture, and discourages pests.
Garden fork or compost turner
Used to aerate the pile by turning it, which accelerates decomposition.
Kitchen scrap collection container
A small countertop bin for collecting vegetable peels, coffee grounds, and eggshells before transferring to the main pile.
Spray bottle or garden hose
Adds moisture to the pile when it becomes too dry.
What You Need Before You Start
The barrier to starting is low. Most homeowners already have everything required except perhaps a dedicated container. You do not need a specific product - a pile held together by four wooden pallets, a repurposed trash can with holes drilled in the sides, or a purpose-built plastic bin all work on the same biological principles.
What you will need
Once your compost is producing reliably, it pairs naturally with other budget gardening strategies. If you're experimenting with container gardening on a tight budget, mixing homemade compost into potting mix extends its life and reduces the need for liquid feeds.
Step-by-Step: Building and Running Your Compost System
Avoid These Items in Your Compost
Never add meat, fish, bones, dairy products, or oily cooked foods to a home compost bin. These attract pests, create odour problems, and can introduce pathogens. Also avoid composting pet waste or diseased plant material, as standard home compost piles rarely reach temperatures high enough to neutralise harmful organisms.
Choose and set up your compost system
Decide on the composting method that fits your space. An open pile or DIY timber bin works well in a yard with at least nine square feet of space. A purchased tumbler bin suits smaller yards or renters who need containment. For apartment dwellers, a sealed worm bin (vermicomposting) can work indoors or on a balcony.
Place your bin or pile in a spot with partial shade to help retain moisture, and on bare soil rather than concrete where possible so worms and microbes can migrate in naturally.
Collect and sort your compostable materials
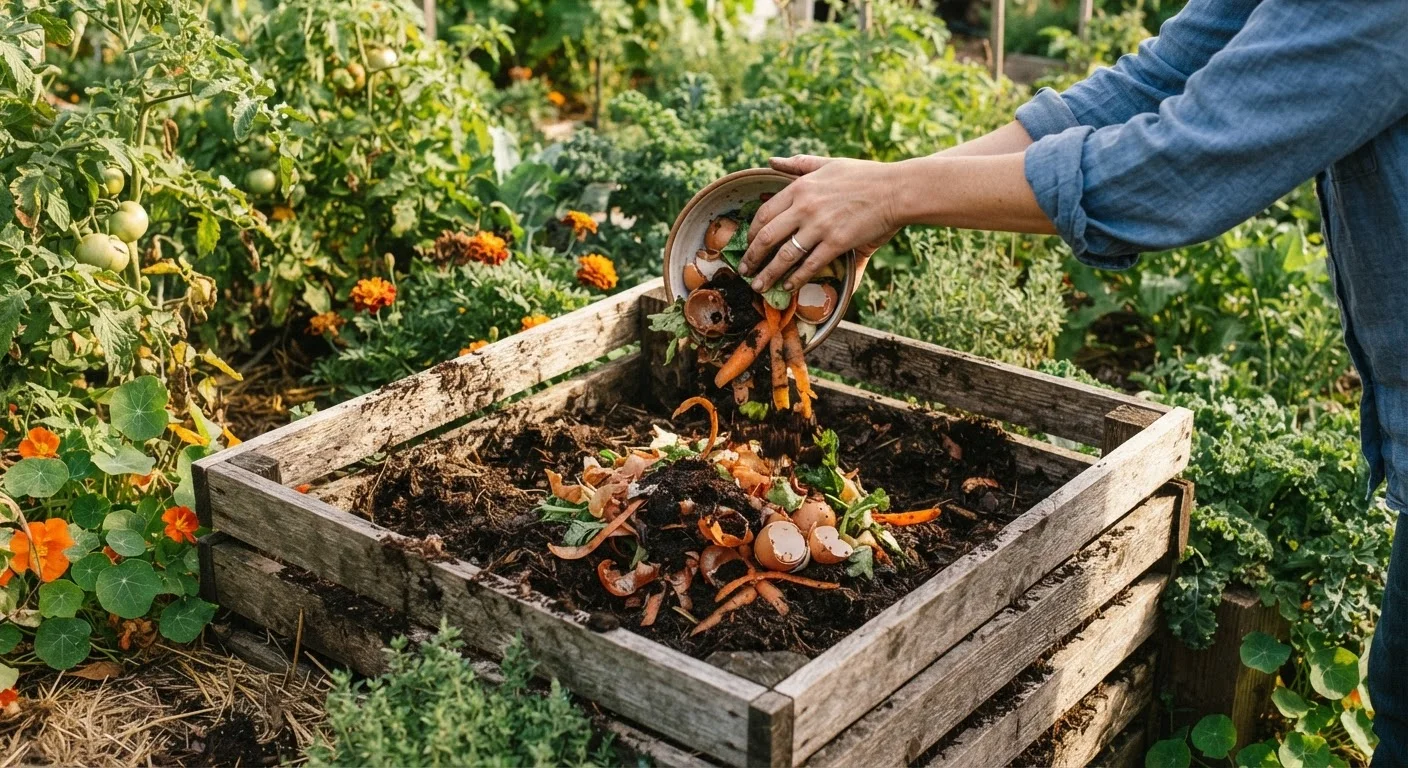
Compostable materials fall into two categories. Greens are nitrogen-rich: fruit and vegetable scraps, coffee grounds and filters, tea bags (check for plastic-free seams), fresh grass clippings, and eggshells. Browns are carbon-rich: cardboard torn into pieces, newspaper, dried leaves, straw, and paper bags.
Keep a small container on your kitchen counter to collect scraps daily. Empty it into your outdoor bin every one to three days to avoid attracting insects indoors.
Layer greens and browns in the right ratio
The most important composting principle is balance. Aim for roughly two to three parts browns for every one part greens by volume. Too many greens and the pile turns slimy and smells; too many browns and decomposition stalls.
Start with a layer of coarse browns on the bottom, add a layer of greens, then cover with browns again. Continue layering as you add new material.
Maintain moisture and aeration
Your compost pile needs oxygen and moisture to decompose efficiently. Check it every week by plunging your hand or a stick into the centre - it should feel damp but not dripping. If dry, lightly water it. If waterlogged, add dry browns and turn the pile.
Turn the pile with a garden fork every one to two weeks. Moving material from the outside edges toward the hot centre speeds decomposition significantly.
Recognise when compost is ready to use
Finished compost looks dark brown, crumbles easily, smells like fresh earth, and shows no recognisable food scraps. This typically takes two to six months depending on pile size, temperature, and how often you turn it. Hot summers and active turning accelerate the process.
If you still see partially broken-down material, sieve the finished compost and return the unfinished chunks to the active pile for another cycle.
Apply finished compost to your garden
Spread a two- to three-inch layer of finished compost over garden beds and mix it lightly into the top few inches of soil before planting. For established plants, apply it as a top dressing around the base, keeping it away from direct contact with stems.
Compost improves drainage in clay soils, improves water retention in sandy soils, and introduces slow-release nutrients - reducing or eliminating the need for purchased fertiliser over time.
Speed Up Decomposition Naturally
Chop or tear kitchen scraps into smaller pieces before adding them - smaller surface area means microbes work faster. Adding a shovelful of finished compost or garden soil when you start the pile introduces the beneficial microorganisms that drive decomposition from day one.
Troubleshooting Common Composting Problems
Keep Your Compost Pile Balanced
A pile that is too wet and dense will turn anaerobic - producing a foul smell instead of useful compost. If this happens, add dry brown materials such as cardboard or straw and turn the pile to reintroduce oxygen. Aim for a moisture level similar to a wrung-out sponge.
Pile not heating up: Add more greens (fresh scraps, grass clippings) and ensure the pile is at least three feet in each dimension. Small or overly dry piles rarely generate noticeable heat.
Pests investigating the bin: Bury food scraps under a layer of browns rather than leaving them exposed on top. Ensure your bin has a fitted lid if rodents are a concern in your area.
Process feels too slow: Chop materials finer, turn more frequently, and add a nitrogen boost such as coffee grounds or fresh grass clippings. Timing your garden activities seasonally also helps - compost made in summer is ready faster and aligns well with fall planting prep.
If you're looking for more ways to expand your garden without spending money, propagating plants from cuttings and tapping into community seed libraries and plant swaps are natural next steps that cost nothing.