

Key Takeaways
Why Cuttings Beat Buying New Plants
Buying transplants every season is one of those costly gardening habits that quietly drains a budget. A single established plant in your yard or on a windowsill can serve as an unlimited source of new specimens - for nothing more than a few minutes of your time and a handful of basic supplies.
Propagating by stem cutting works because the cells near a cut stem are capable of generating new root tissue when given the right conditions: consistent moisture, warmth, indirect light, and a suitable growing medium. The technique applies broadly - herbs like rosemary and mint, perennials like salvia and sedum, shrubs like hydrangea and forsythia, and most tropical houseplants all respond well to it.
If you want to stretch your propagation efforts even further, plant swaps and community seed libraries are an excellent complement - trade your rooted cuttings for varieties you don't have yet.
What you will need
What You'll Need
You don't need specialist equipment to propagate successfully. The items below cover the essentials and a few helpful extras.
Sharp pruning shears or a clean craft knife
Makes clean cuts that minimise cell damage and reduce the risk of disease entry.
Rubbing alcohol or diluted bleach solution
Sterilises cutting tools before use to prevent transferring pathogens to fresh cuttings.
Small pots or repurposed containers with drainage holes
Holds the rooting medium and gives each cutting its own space to develop roots.
Rooting medium (perlite, coarse sand, or a perlite-potting mix blend)
Provides an airy, low-nutrient environment that encourages root formation without rot.
Rooting hormone powder
A plant hormone that can accelerate root development, particularly useful for woody or slow-rooting species.
Clear plastic bag or humidity dome
Traps moisture around the cutting to reduce water loss through leaves while roots develop.
Permanent marker and labels
Identifies each pot by plant name and cutting date so you can track progress.
Step-by-Step: Taking and Rooting Cuttings
Follow these steps carefully, and you'll give each cutting the best possible chance of establishing roots. Timing matters - late spring through early summer is ideal for softwood cuttings, while semi-hardwood cuttings (taken from slightly firmer stem material) work well from midsummer into early fall.
Sterilise your cutting tool
Wipe pruning shears or a craft knife with rubbing alcohol and let it air-dry for 30 seconds. A contaminated blade is the single most preventable cause of cutting failure, as fungal and bacterial pathogens transfer easily from plant to plant.
Select and take the cutting
Choose a non-flowering stem that is healthy, firm, and free of spots, yellowing, or pest damage. Cut a 4-6 inch section just below a leaf node (the point where a leaf joins the stem) at a 45-degree angle. Angling the cut increases the surface area available for rooting.
Prepare the cutting
Strip all leaves from the lower two-thirds of the cutting, leaving only two or three leaves at the top. Buried leaves rot and introduce disease into the rooting medium. If remaining leaves are large, cut them in half horizontally to reduce moisture loss through transpiration.
Apply rooting hormone (optional)
If using rooting hormone powder, dip the freshly cut base of the stem into the powder and tap off any excess. A thin, even coating is all that's needed. Too much powder can actually inhibit rooting rather than help it.
Insert the cutting into rooting medium
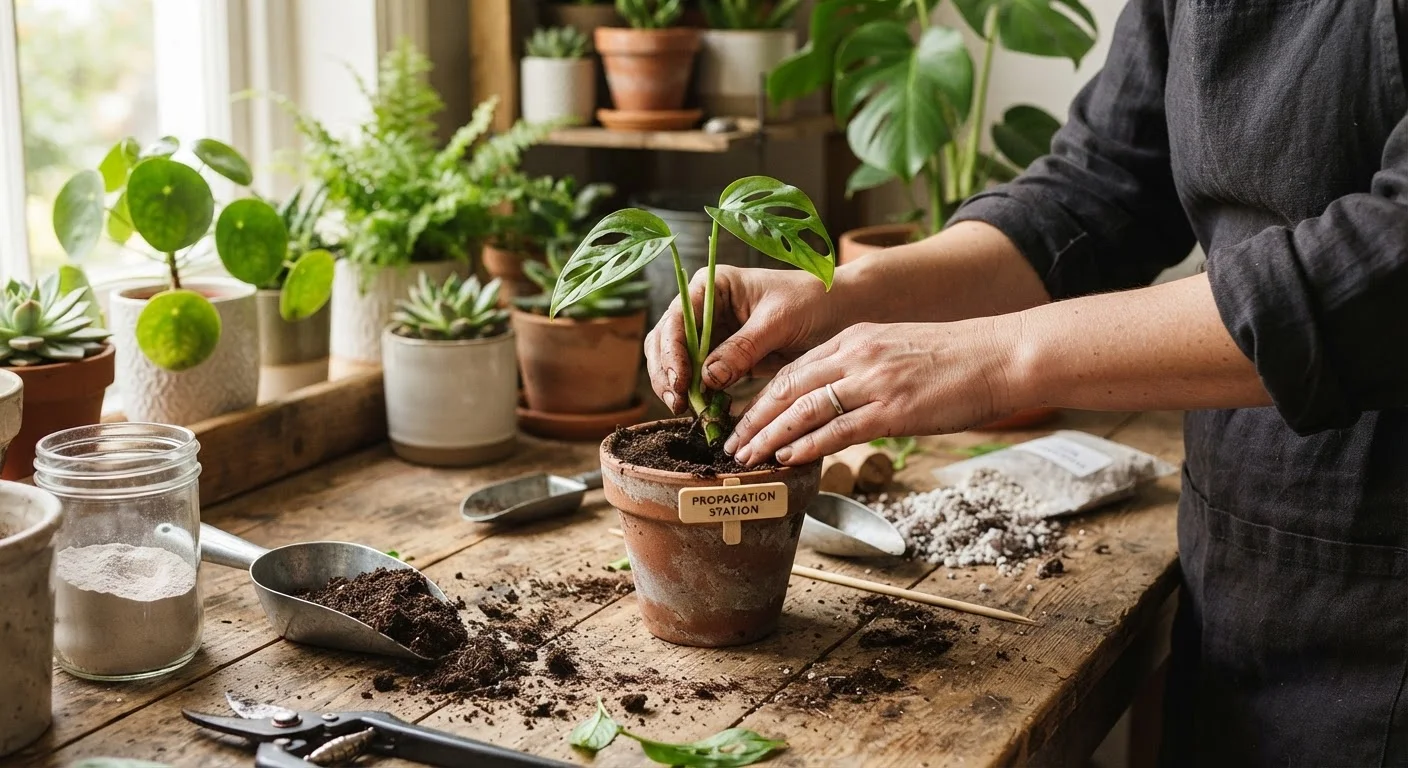
Moisten your rooting medium until it holds its shape but doesn't drip water when squeezed. Use a pencil or chopstick to make a small hole in the medium, then insert the cutting so that at least one or two leaf nodes are buried. Firm the medium gently around the stem to hold it upright.
Create a humid environment and position the pot
Cover the cutting loosely with a clear plastic bag or place a humidity dome over the pot. This keeps humidity high around the leaves without requiring frequent misting. Place the pot in bright, indirect light - a north- or east-facing windowsill is often ideal. Avoid direct sun, which can overheat and desiccate unrooted cuttings.
Monitor and test for rooting
Check moisture levels every two to three days, misting lightly if the surface of the medium feels dry. After two to four weeks, gently tug the cutting - noticeable resistance means roots have formed. Alternatively, look for roots emerging from drainage holes. Label your pots with the plant name and date taken so you can track which cuttings root fastest.
Propagate What You Already Have
Before purchasing any new plant, check whether you can take a cutting from a friend's, neighbour's, or family member's garden. Many gardeners are happy to share cuttings freely, and trading rooted cuttings you've grown is an equally practical way to diversify your garden at no cost. This pairs naturally with organised community plant swaps if those exist in your area.
Troubleshooting and Next Steps
Not every cutting will root, and that's normal. A success rate of 60-80% is realistic for most home gardeners. If cuttings consistently wilt and die within a few days, the most common culprits are insufficient humidity, overly wet medium causing rot, or cutting material taken from stressed or diseased growth.
Once roots are established - typically visible as resistance when you gently tug the cutting, or emerging from drainage holes - transplant into a larger container or directly into garden beds. If you're moving rooted cuttings into pots, repurposed containers and budget planters work just as well as purchased nursery pots at this stage. Feed newly transplanted cuttings lightly; a compost-enriched soil mix (homemade compost works well) provides gentle nutrition without overwhelming young roots. Keep moisture consistent but not waterlogged - the same smart watering principles that protect established plants apply equally here.
Watch for Patent-Protected Varieties
Some ornamental plant varieties - particularly newer cultivars of roses, coneflowers, and certain shrubs - are protected by plant patents. Propagating patented plants for sale or distribution may infringe intellectual property law. Propagating for personal, non-commercial use within your own garden is generally not an issue, but check if you're unsure about a specific plant's status.